 1-820-333-2571
How To Fix Dns Server Not Responding Error
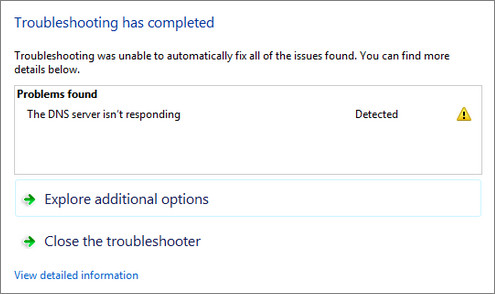
Dns server not available fix it now the working or responding problem
You can fix this problem easily by following the methods given below.
Method 1 – Change The DNS Server Addresses
The DNS server address is usually obtained automatically, but you can set it to something more reliable. As the DNS server your PC obtained automatically is not responding, you can change it to one of the most reliable DNS servers out there. OpenDNS and Google DNS are considered to be the best and they are totally free. In our case we will use Google’s DNS server address. Let’s start off.
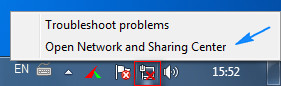
First right click on your Network icon. Then click on Open Network and Sharing Center. You can also find Network and Sharing Center by searching for it from Start menu.
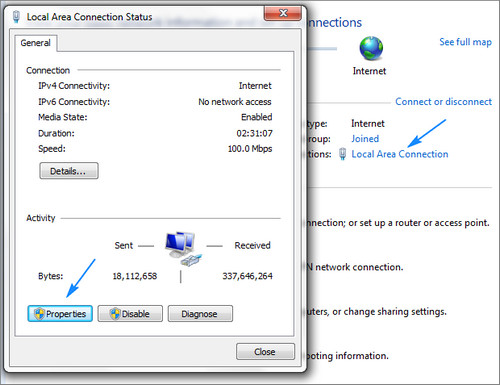
After that click on Local Area Connection and then in the new window click Properties.
Afterwards, select Internet Protocol Version 4 (TCP/IPv4) and then hit Propertiesagain.
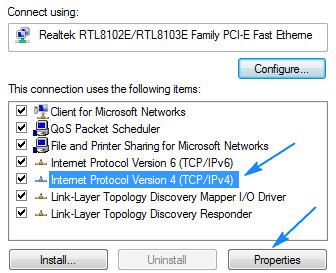
In that window select the radio button that says Use the following DNS server Addresses.

Then in the Preferred DNS Server field type in 8.8.8.8 and in the Alternate DNS Server field type in 8.8.4.4 then check Validate Settings Upon Exit box and click OK. Now restart your PC.
Now try to connect to your internet and browse the websites that you were getting error to see if the problem is solved. If it didn’t, then try out method 2 which is flushing DNS.
Method 2 – Flush The DNS of Your Computer
Windows and other operating systems usually store the DNS data in the cache This cache also store data of the visited websites and clearing the cache may solve the problem. To do that, click the Start button and type in cmd in the search box and press Enter from keyboard.
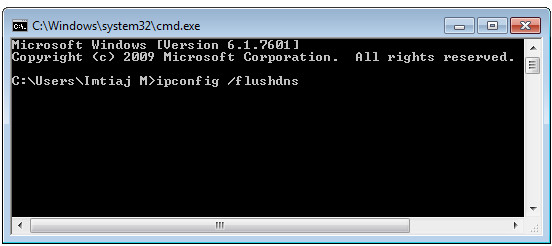
Command prompt will appear, then type in ipconfig /flushdns and hit Enter. This will remove all the DNS cache entry which just might resolve the problem. If not then also type in the following command and press Enter after each of them.
ipconfig /registerdns
ipconfig /release
ipconfig /renew
netsh winsock reset
Once done, restart your computer and check if the problem still exists.
Method 3 – Disable Unused Networks
Usually windows installs extra connections even if you never use them. But it’s best to have only the one connection that you use regularly and remove the other connections so that they can’t cause any kind of connection issue. If there are any other connections that you are not currently using, then you need to disable them. To do that type in ncpa.cpl in the search box of Start menu and press Enter.
You can also find the network connections by navigating to Start > Control Panel> Network and Internet > Network and Sharing Center > Change Adapter Settings.
Now you will see all the connections that you are either using or not. Disable the connections that you are not using by right clicking on them and then clicking Disable.
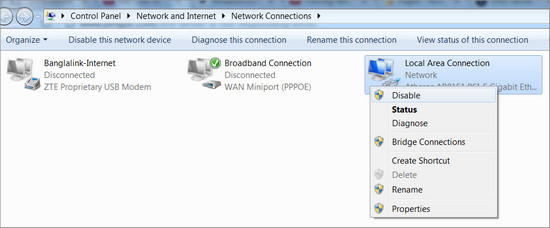
In the picture above I’ve right clicked on the network that I’m using because the other ones are already disabled.
Method 4 – Change Physical Address
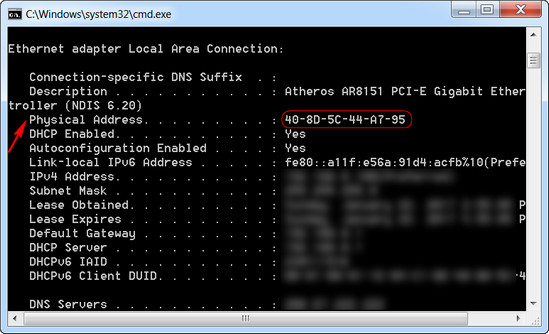
At this point we will change the physical address of the computer. Go to Windows Start menu and type in cmd in the search box and hit Enter. In command prompt type in ipconfig /all and press Enter. Now find the physical address from there and write it down somewhere.
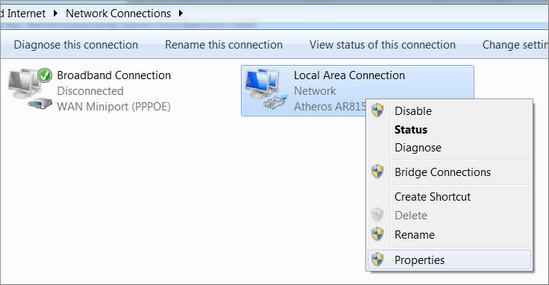
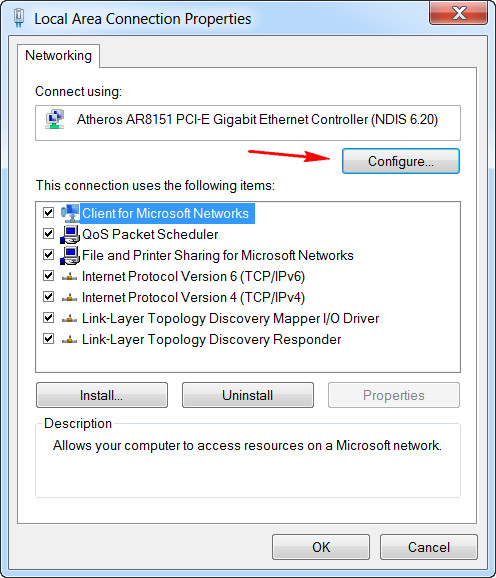
Now to go Start menu again and type in npca.cpl in the search box and hit Enter. This will show you the network connections. Now right click on the active connection that you are using and select Properties.
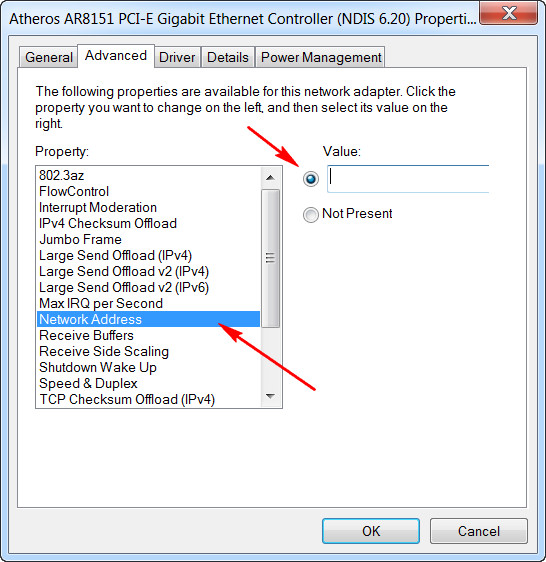
Now click on Configure and then select Advanced tab.
After that click on Network address and select the radio button that says Values. Now type in the network address that you have written down previously. Make sure write them without the dashes like this 408D5C44A795 and then click Ok and restart the computer.
Method 5 – Power Cycle Your Router and Computer
If you are using a router then unplug the router from the power source and as well as the computer. Leave them unplugged for at least 1 minute. This will clear the memory and release residual charge. Then plug them in again, turn them on and wait for them to fully start and connect. Now see if the problem is solved or not.
Now, if the problems is still there then move on to method 4 to try some other fixes.
Searches related to dns server not working or responding:
- dns server isn't responding windows 7
- dns server not responding windows 10 wifi
- dns server not responding windows 10
- dns server not responding windows 8
- dns server not responding wireless
- dns server not working properly
- dns server not working windows server 2012 r2
- dns server not working mac
- dns server not working on ps4
- dns server not working windows
- dns server not working on router